
Rhino-Rack Vortex Roof Rack for Naked Roofs - Aluminum - Black - Qty 2


To see if this custom-fit item will work for you please tell us what vehicle you'll use it with.


Thank you! Your comment has been submitted successfully. You should be able to view your question/comment here within a few days.
Error submitting comment. Please try again momentarily.


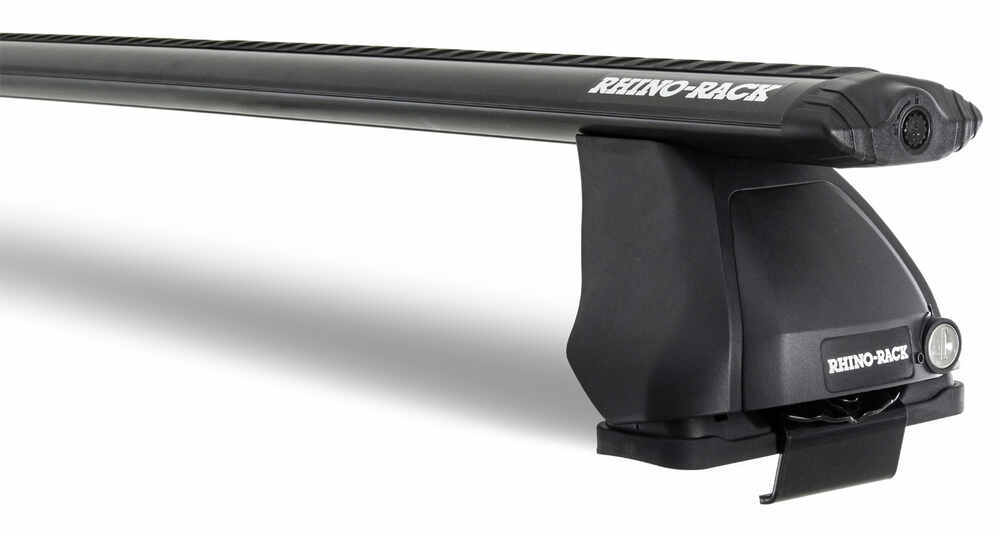


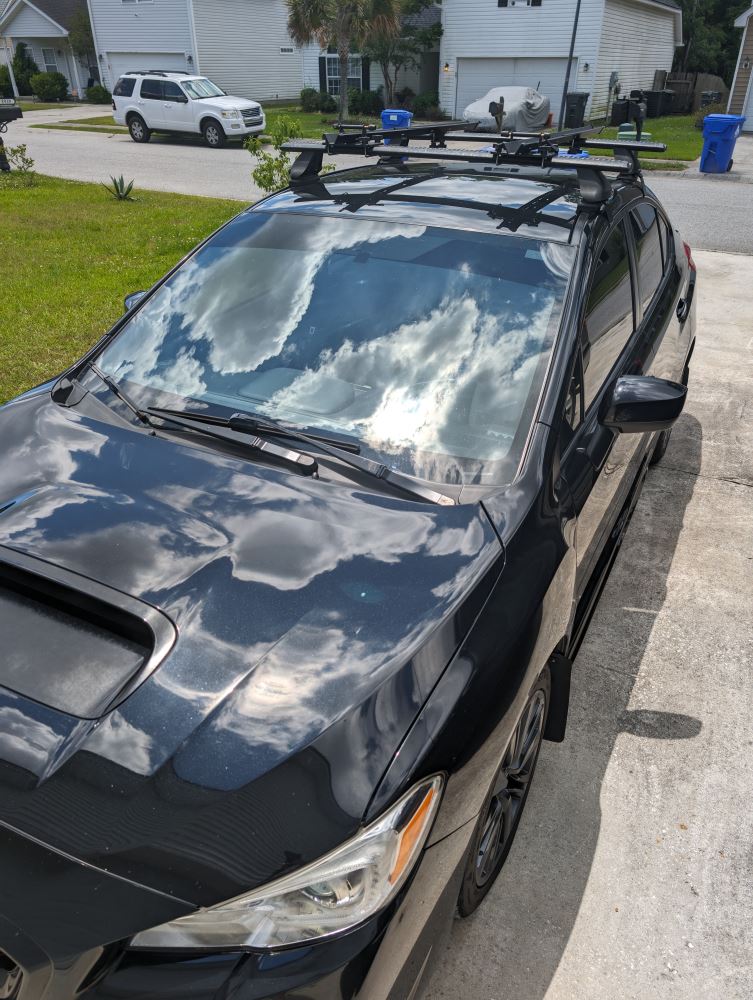
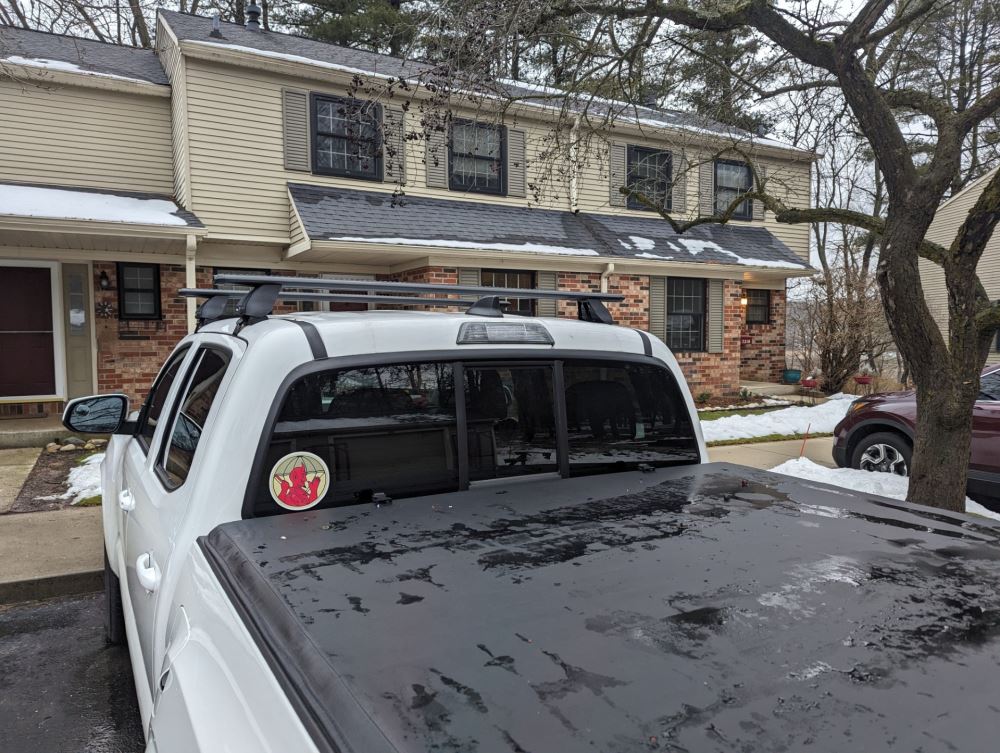
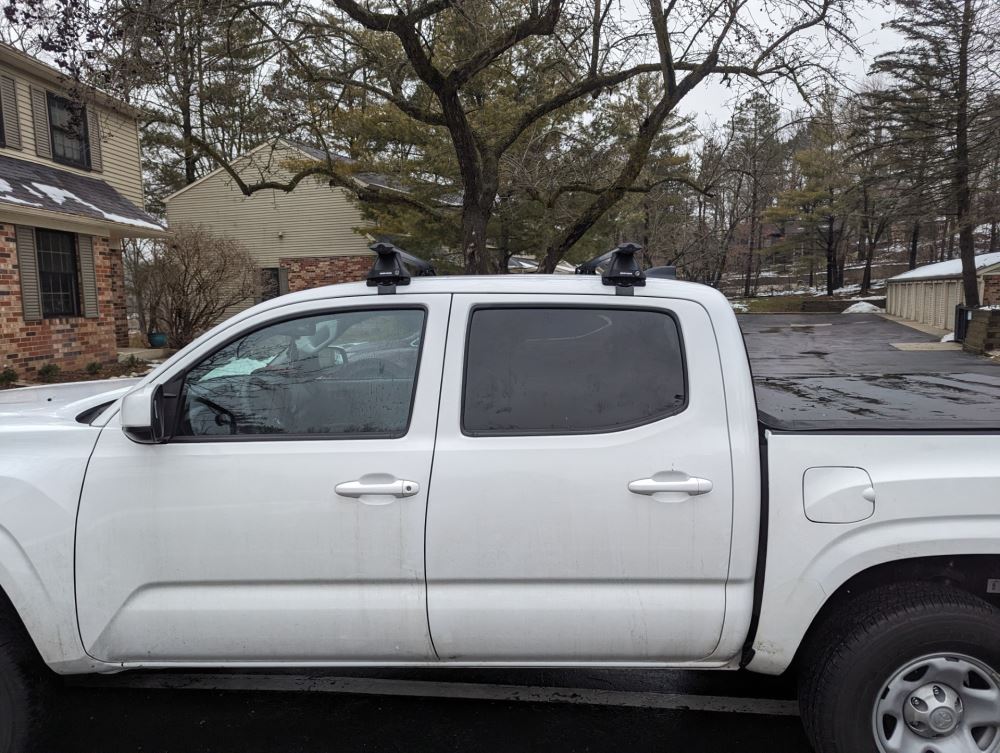
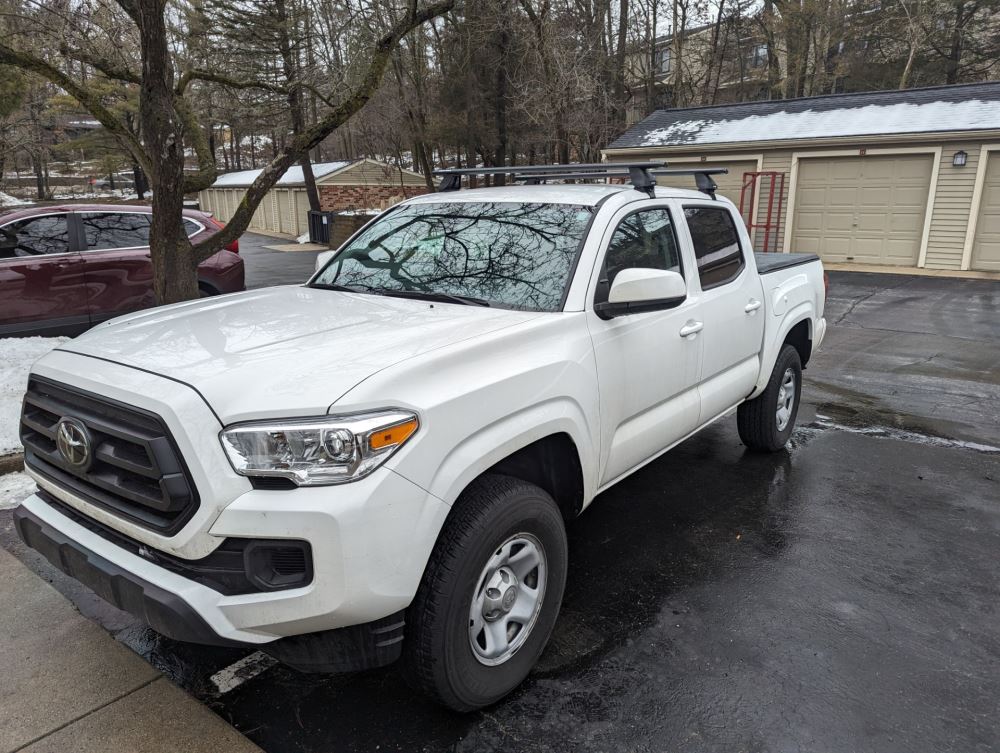
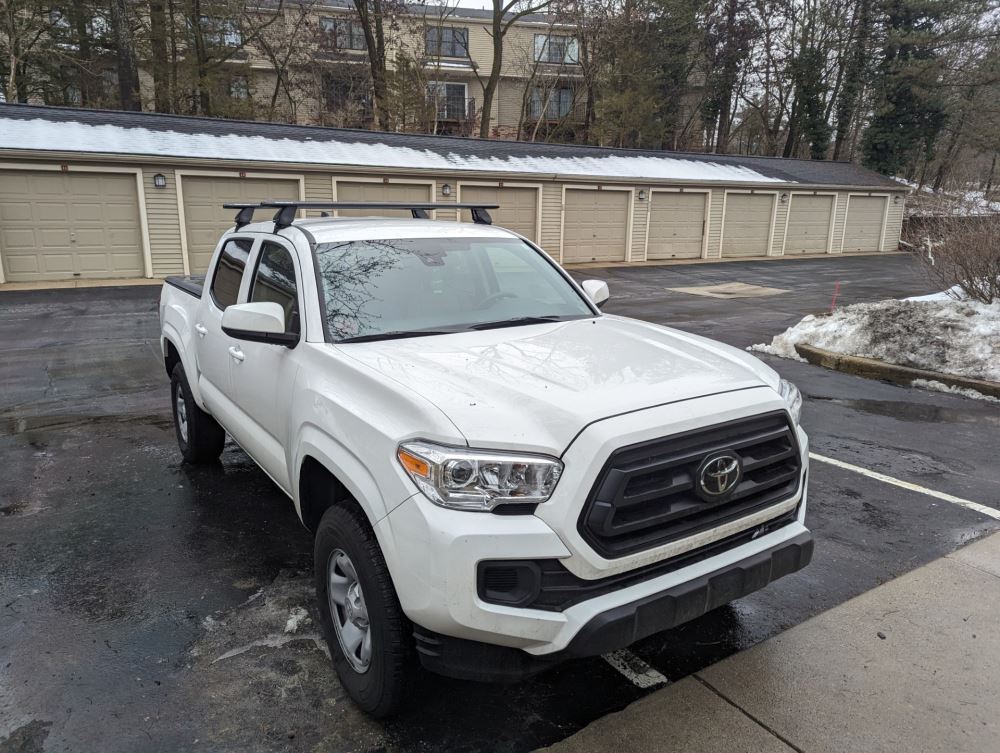
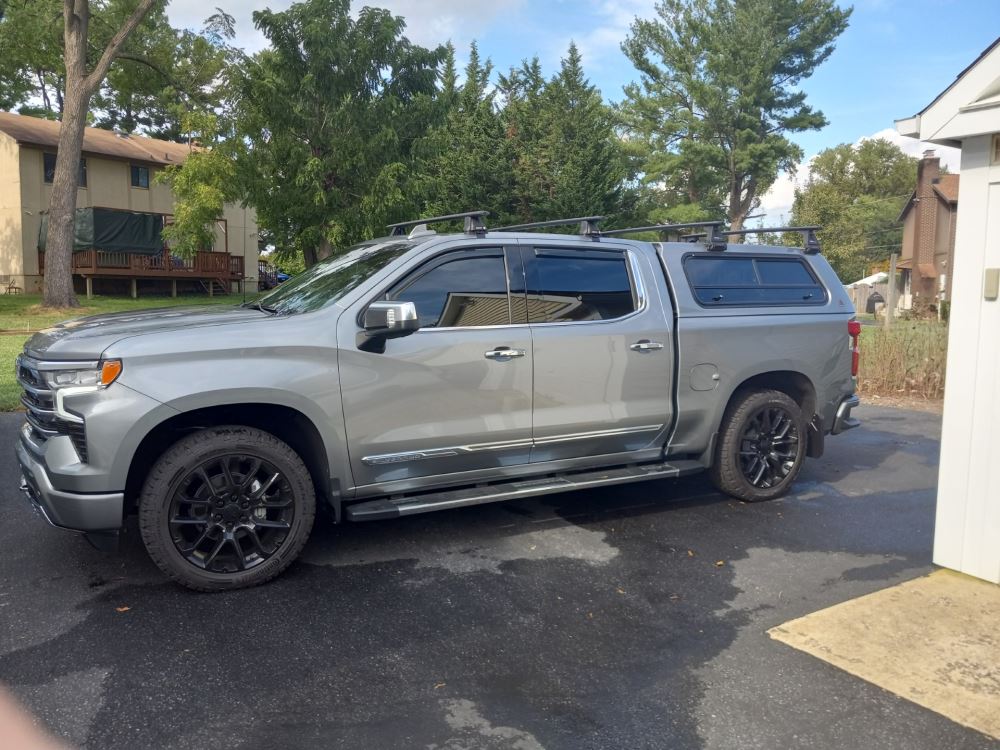
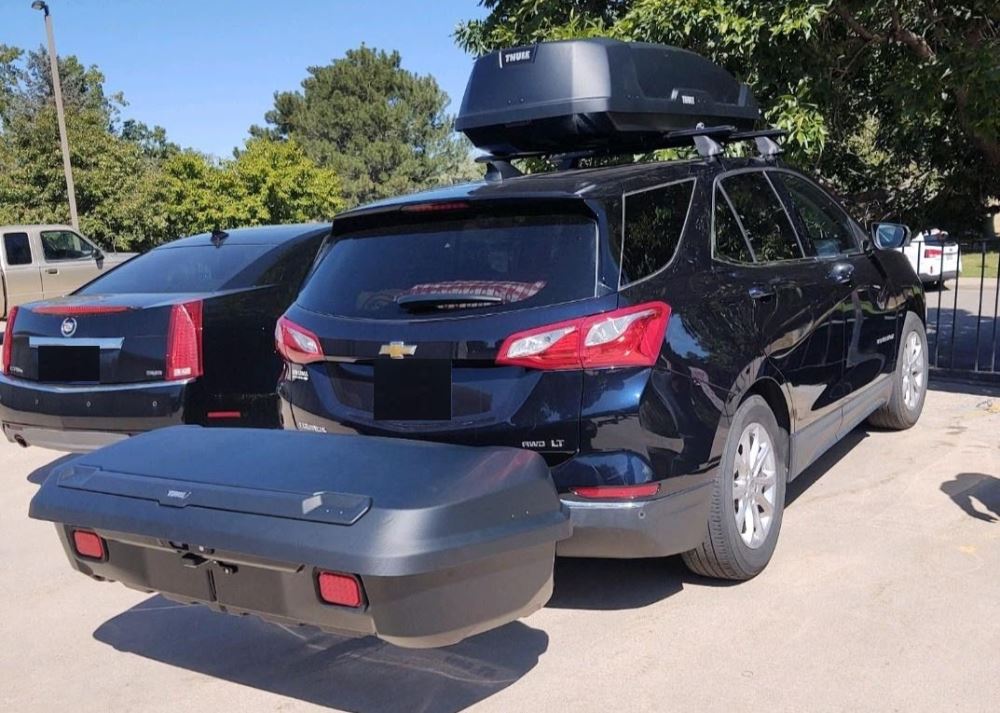
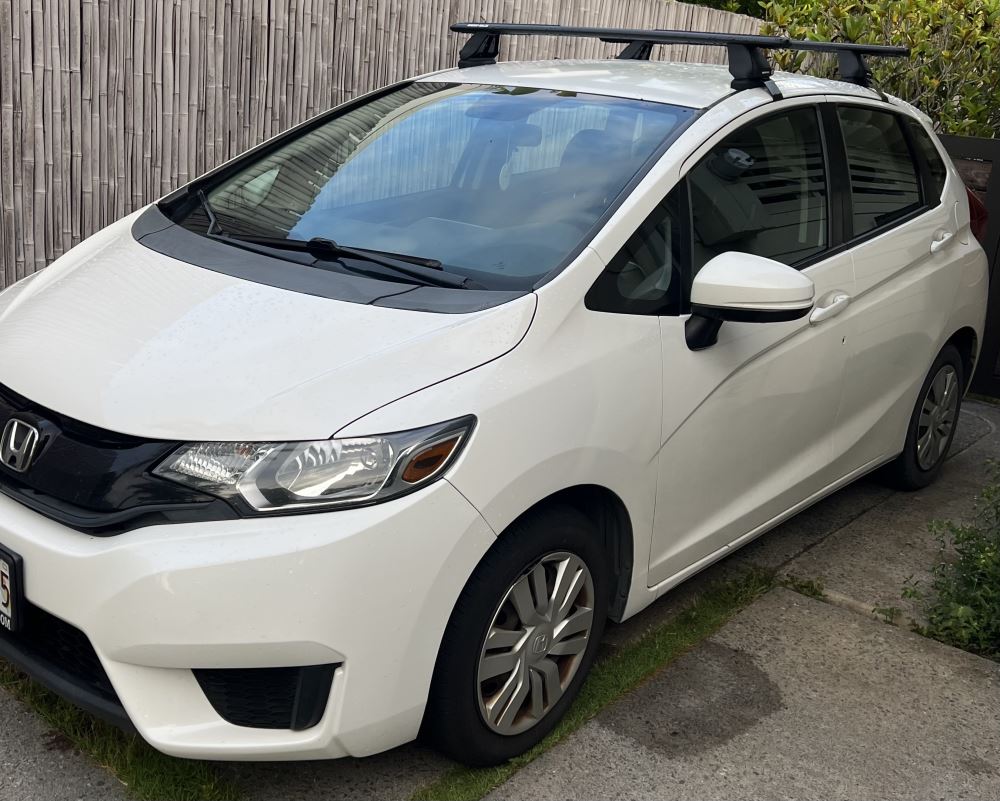
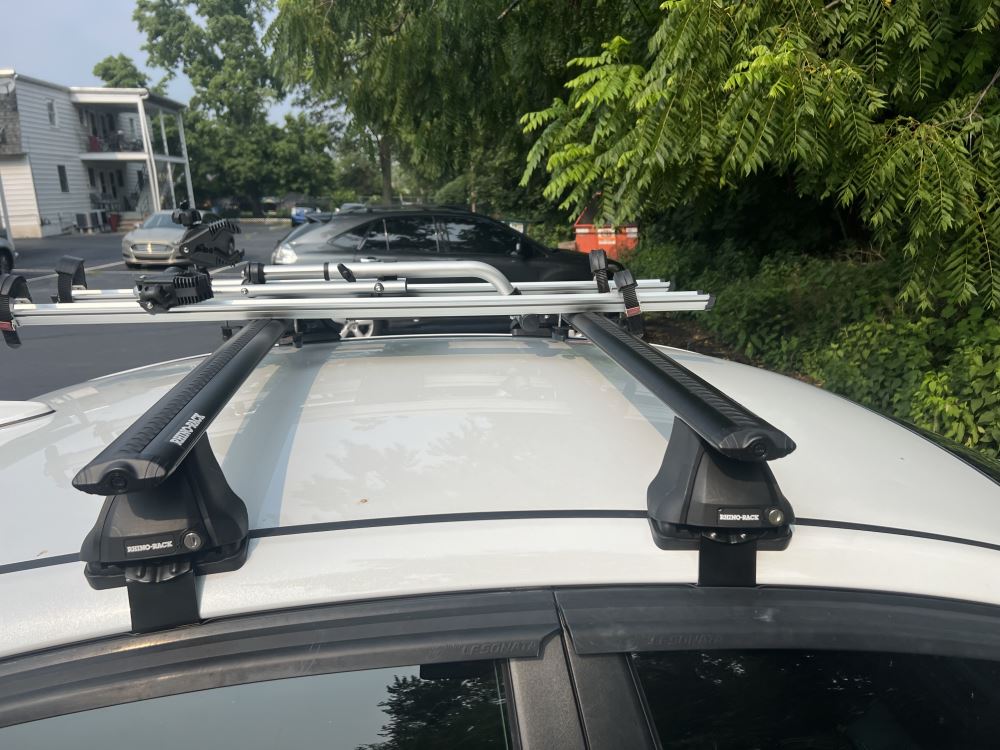
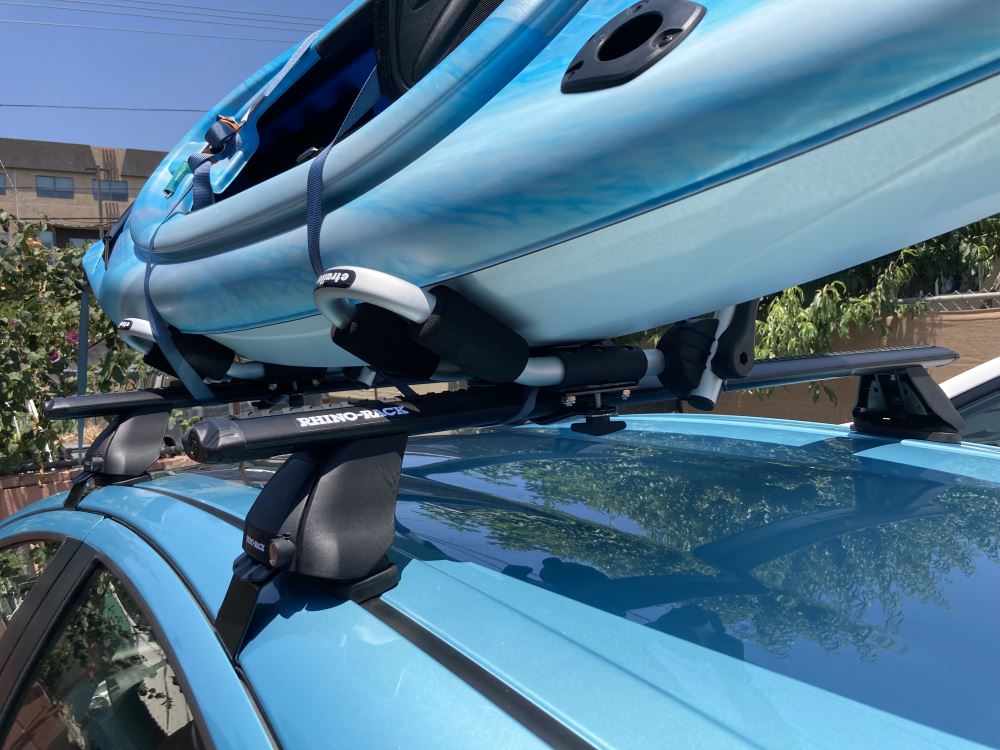
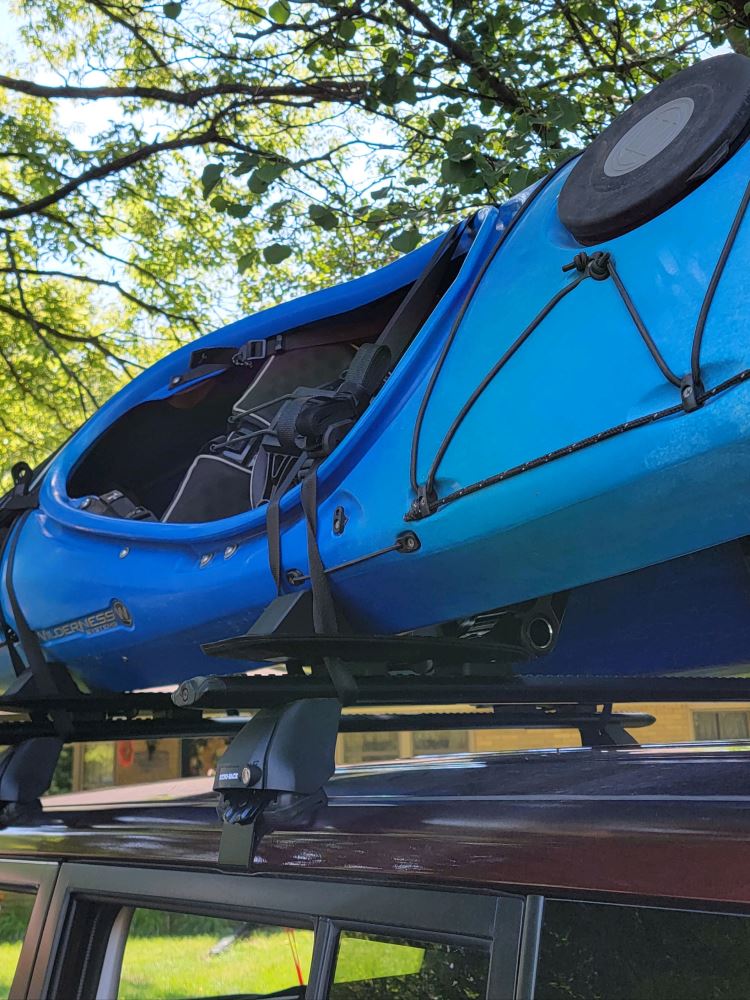
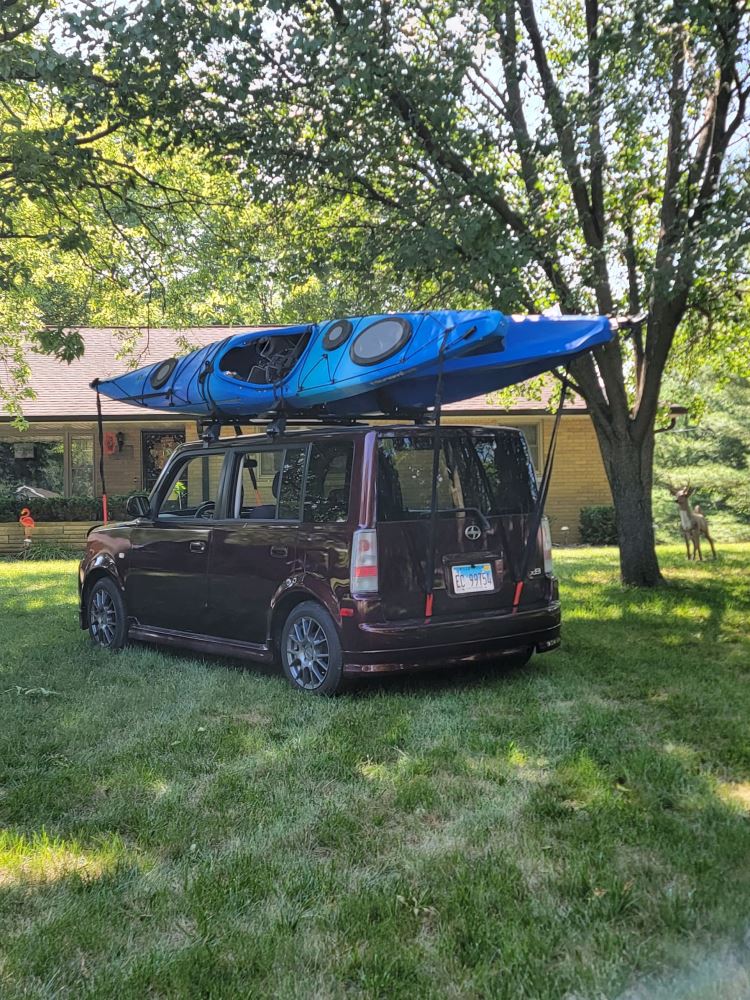
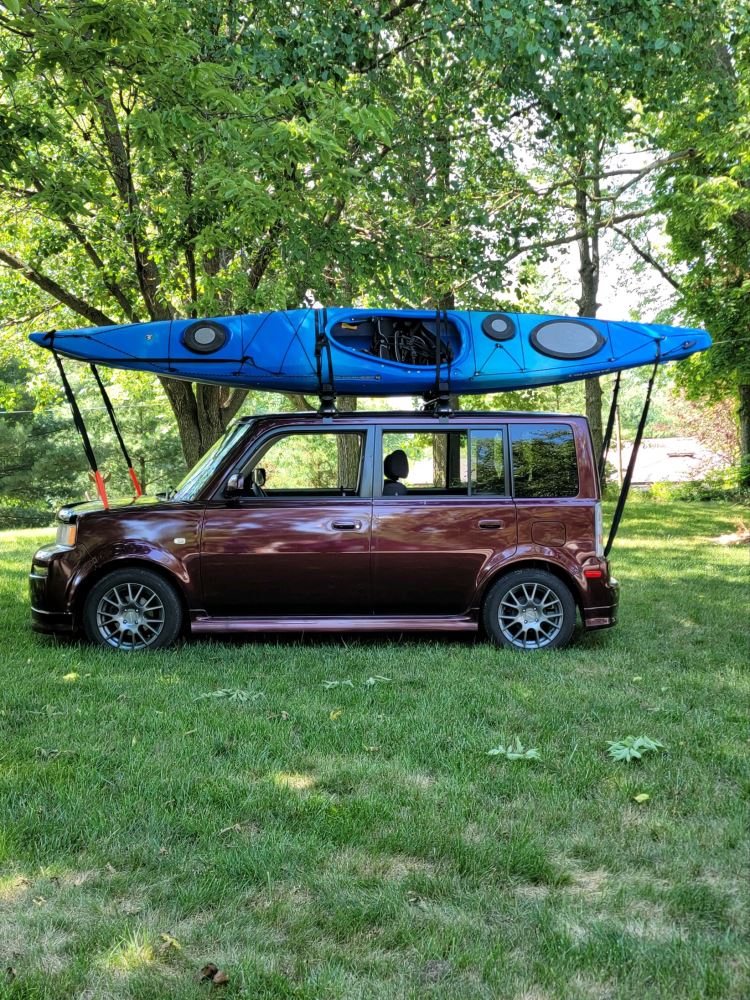

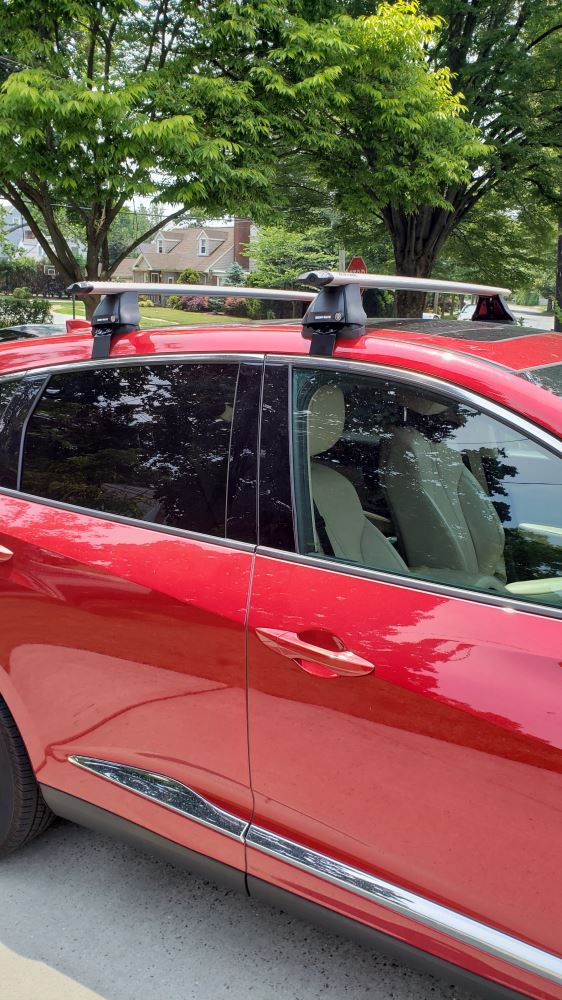
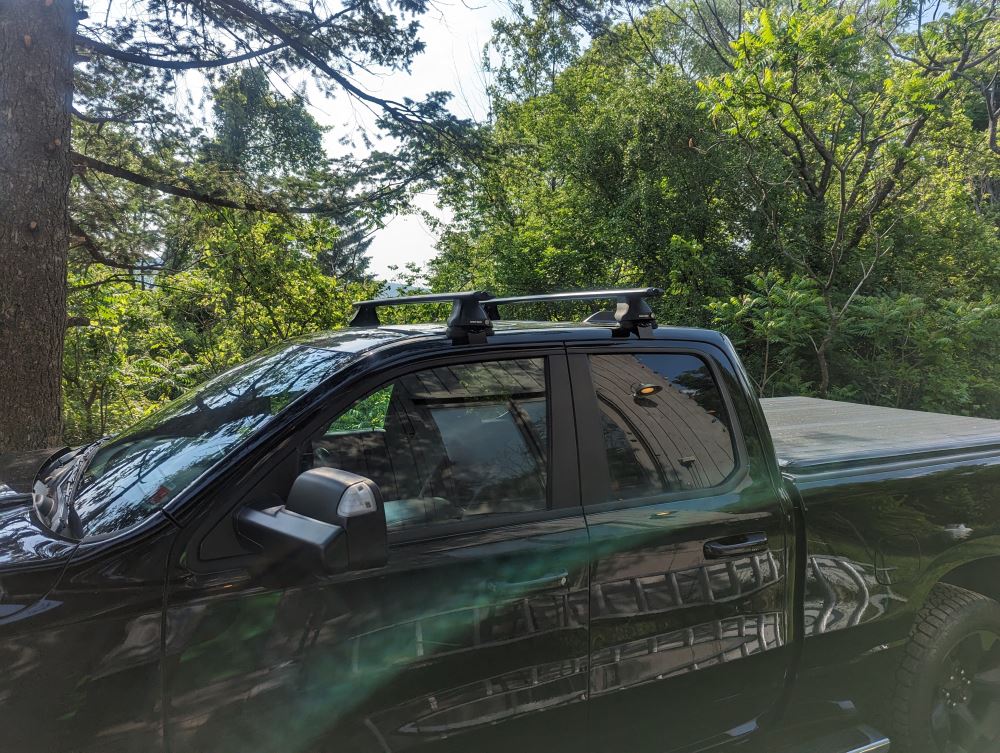
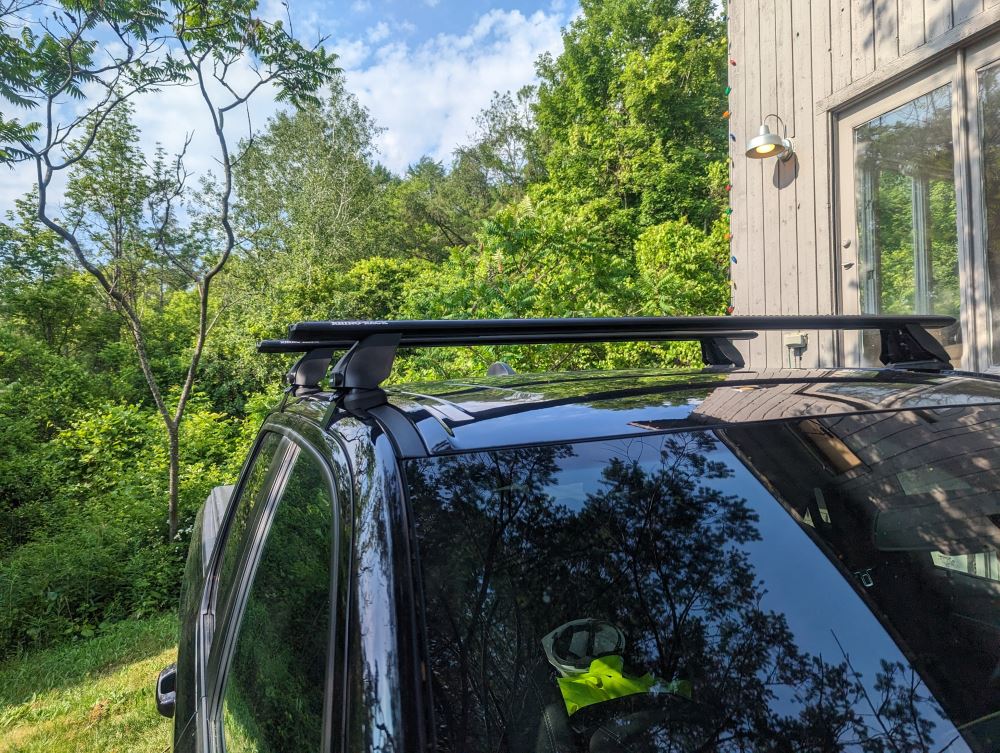
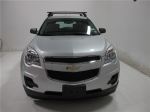
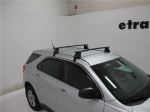
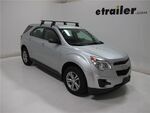
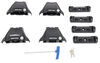
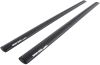
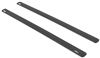
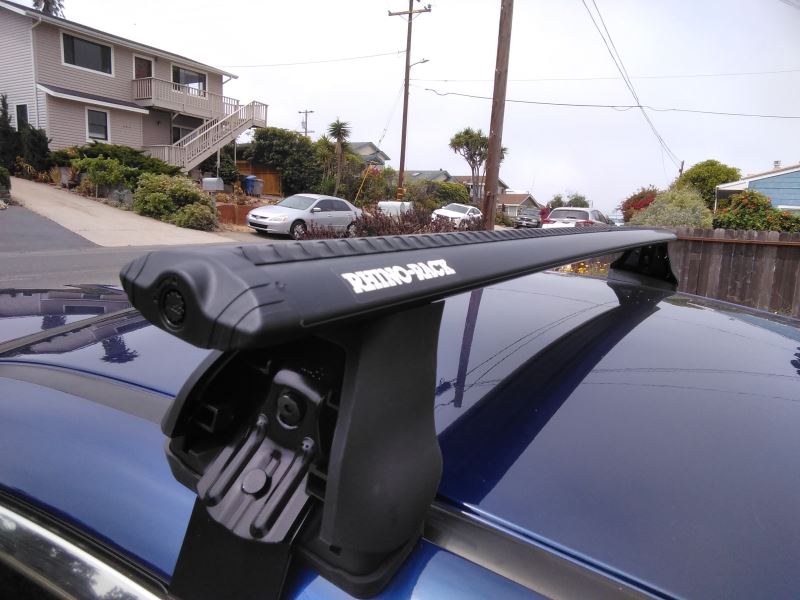
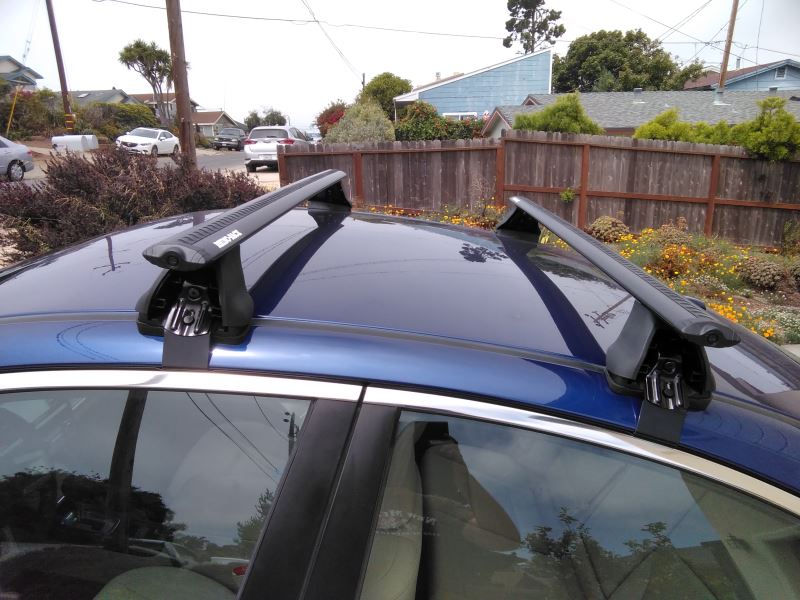
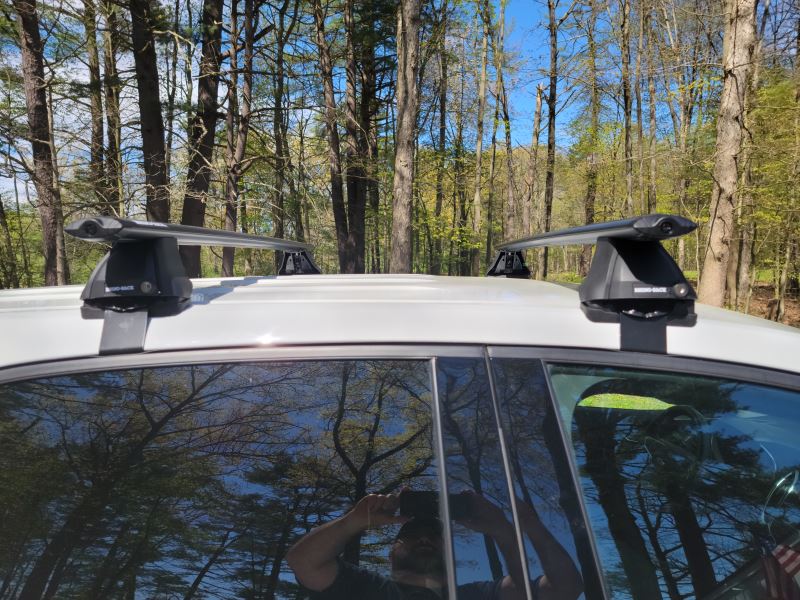
This setup takes the guesswork out of hauling your gear. The Rhino-Rack Vortex Roof Rack includes two 46" aluminum crossbars, four 2500 Series legs, and a custom fit kit—all built to handle up to 165 lbs while keeping cargo stable. Whether you’re loading kayaks, cargo boxes, or camping gear, the sturdy aluminum construction gives you solid support trip after trip.
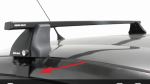
Long drives can get loud when air moves over flat bars, but these aero-style crossbars are shaped to keep things quiet. The rubberized Vortex strips fill the top channels to help reduce drag and whistling. That means less humming on the highway and more time enjoying the ride.
No need to pick one style of mount. The crossbars work with most bike, watersport, snow, and cargo carriers that attach in the top channels or clamp around the bars. You can go from hauling a kayak in summer to a ski rack in winter without changing your setup.
Security matters when your gear is on the roof. Integrated plastic locks in the crossbars deter theft of channel-mount accessories, while lockable cover plates on the legs secure the rack itself. For even more protection, you can upgrade to all-metal locks (RRVA-LEC4, sold separately) for added peace of mind.
The black aluminum bars resist corrosion and wear while keeping weight down. Each piece of the system is backed by Rhino-Rack’s strong warranty—limited lifetime on the crossbars and five years on both the legs and fit kit—so it’s ready for years of hauling duty.
 Alternate Instructions
Videos are provided as a guide only. Refer to manufacturer installation instructions and specs for complete information.
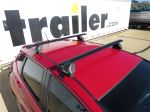
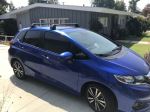
Hi, it's Jesse with etrailer. Today we're going to be taking a look at and I'll show you how to install the Rhino Rack Vortex Aero Roof Rack Kit on our 2017 Honda Fit. Adding a roof rack to a car like the Honda Fit makes a lot of sense as it's a smaller car, doesn't have a lot of space for storage in the back. So it gives you the ability to add on maybe a roof box or a bike rack or a kayak carrier or something like that. The kit will come with the crossbars, which are 46 inches in length, and they're this aerodynamic shape which will cut down on wind noise and wind resistance, along with the rubber weather stripping, which also is designed to cut down on wind noise. And you will have to cut that to fit.
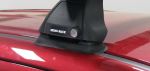
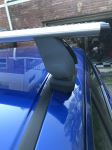
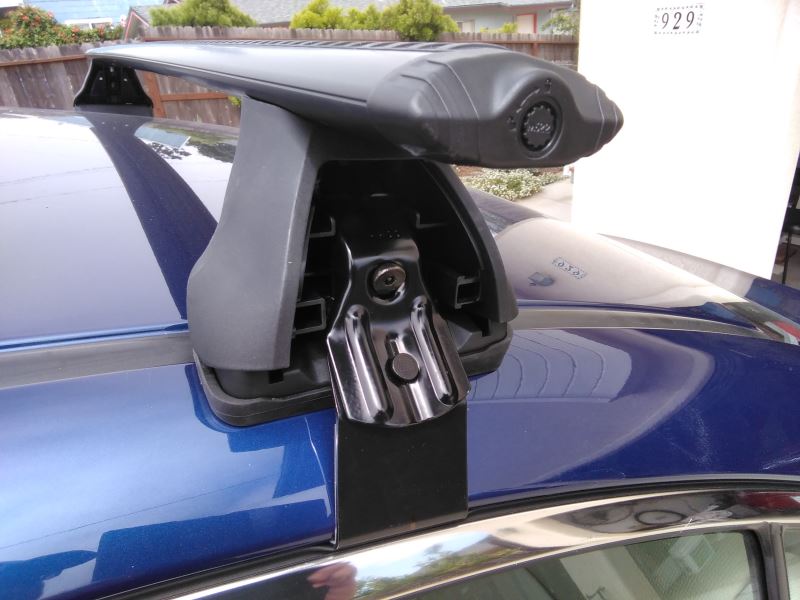
They are removable in case you have any accessories that will fit into this channel. And our end caps here, these are replaceable in case you had a channel mounted accessory that you wanted to lock in. There are metal versions of this available. Attaching our crossbar to our roof here is our 2,500 series feet or towers. These are a plastic molded design.
They do lock just to keep everything secure. You'll just unlock it, pop the cover off, and there's your bolt that tightens everything down. Then attached to our tower is our fit kit, which comes with the plate, the rubber pad. Then our clamp, which is also rubberized, just to ensure that you're not gonna scratch the vehicle. As far as weight capacities go, that will depend on not only the roof rack and the whole kit, but also your manufacturer's rating of the roof.
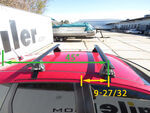
So just be sure to double check your owner's manual, see what your roof of your rated for, and just go off the lowest number there. A couple measurements to keep in mind with this rack. The crossbars themselves will add about four and three quarters inches of height to the vehicle, and then from underneath the crossbar on the bottom to the roof is three and a half inches. So just keep that in mind for any clamp accessories that you might have. That should be plenty of clearance for those.
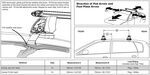
Something to consider when adding an item to your roof is if the sunroof has clearance. So we always double check. This one has plenty of clearance, both going back and also in the tilted position. As far as install goes, with a naked roof design like we have today, it does get kind of tricky. You just have to be precise with your measurements and take your time. If you need a little help setting yours up, feel free to follow along and I'll show you how we did ours. Now to begin our install, as you can see, we already have the front crossbar installed on the vehicle. This rear one will install essentially the same way. So before we begin, I just have all of our parts laid out in front of me. Starting here with the crossbar. We have our tower. We have our plates, our pad, clamps, and our measuring tools. This is a good idea to have. It's just a measuring tape key, our other lock key and the torque wrench. The first step of our install is to take our crossbar, you'll notice the Rhino Rack sticker there. That's gonna be facing the front. So this will be our right front. Flip it over. And we'll need to take our key, get that quarter turned and that should slide out. And then do that with the other side. We'll set those end caps aside for now. Now you may have to loosen this up just to give you enough room to slide this in with this side facing out. Slide both sides in. Now we need to take some measurements. Once we have our towers slid in, it's a good idea to put your end caps back on just to make sure that these towers don't slide out while we're working with it. Slide 'em back on and lock 'em. Now for your width measure measurement for the towers, you're gonna measure from the inside here to the tower. It does come with these cut to length strips. We're just using this rack for demonstration purposes, so we're not gonna use that. We just have a regular tape measure. So we will measure from the inside. Just remember we're on the rear tower. Those measurements are different. Once we have that lined up where we want it, we'll tighten this down. The measurements in the instructions may not be perfect and things can kind of move around when you're tightening 'em down. So when you tighten these towers down, it's a good idea just to get it tight enough to where it won't move around on its own. But if you need to, you can slide it around. So I'll just loosen this up a little more. That way we can make any minor adjustments, and then once we have that figured out, we'll take it back off and tighten these all the way down. Next step will be to install our plate here. This arrow just needs to face the outside. So we'll take it, line this up with this, and it should just push on. Then for our pad, we need this arrow facing the front of the vehicle. So this is gonna be the left side. So it needs to go this way. While you're installing this rubber, some of these are a really tight fit, so it might be easier just to pop that plate back off, kind of work your way around the edges. Just remember your orientation of everything. Pop it back on. Now we're ready to go to the vehicle. At this point, we're ready to rest our crossbar assembly on top of our car. For now, just kind of eyeball it because we're gonna make our measurements here. So for the front one, we're gonna base where the rear one's positioned off of that. For this front one, we just go off of measurement A in our instructions, and that's from the edge of the dorsal to the center of this clamp here. Then for our rear, it'll go off the middle. And then find about where the middle of this clamp will be and use measurement B for that. So I'm just a little far forward, get that lined up, and then I'll jump over to the passenger side and do the same thing. Once you're happy with the way your towers are positioned, you can go ahead and tighten it down. I've already done that with ours. At this point, we are ready to install our clamps. So first we'll have to take off this cover with our key. We will unthread this bolt. Set that aside for now. And we'll take our clamp. We'll have to kind of peel back the molding because you wanna mount the clamp on the actual metal of the vehicle. Get that there. And then you'll kind of have to work with this, moving that threaded block around. Get that bolt threaded on all the way. And we will tighten it down until the curved end of our torque wrench comes flat. Now we've got all four of our towers torque down, we can go ahead and put our final cover on. It just slides in one way, then snaps down, and then we'll lock it. Once everything's installed, I like to give it a nice shake just make sure nothing's moving around at all. Otherwise, that's gonna do it for our install of the Rhino Rack Roof Rack System on our 2017 Honda Fit.
Ratings & Reviews



Kate F.
10/8/2025
Set-up looks great Melody! Tiffini is awesome, I am glad she got you all the parts you need. I am a fisherwoman myself, what kind of fish are you mainly trying to hook? I chase the Bass for my tournaments, but love to eat the cappie, walleye, and stripers that I catch =)

Michael

5/17/2025
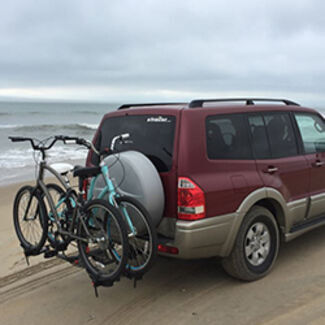
Great high quality.
Zeva K.
7/22/2020
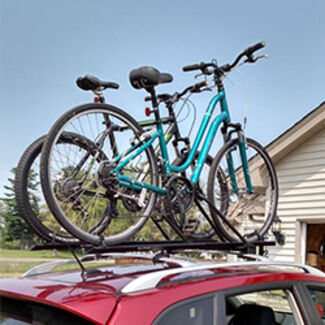
5 stars. Use these every summer. Take them off and on by myself and have never had any issue with them. Still happy as ever with my purchase.

Do you have a question about this Roof Rack?
Info for this part was:
At etrailer we provide the best information available about the products we sell. We take the quality of our information seriously so that you can get the right part the first time. Let us know if anything is missing or if you have any questions.

















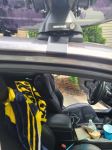

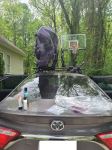

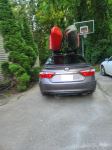


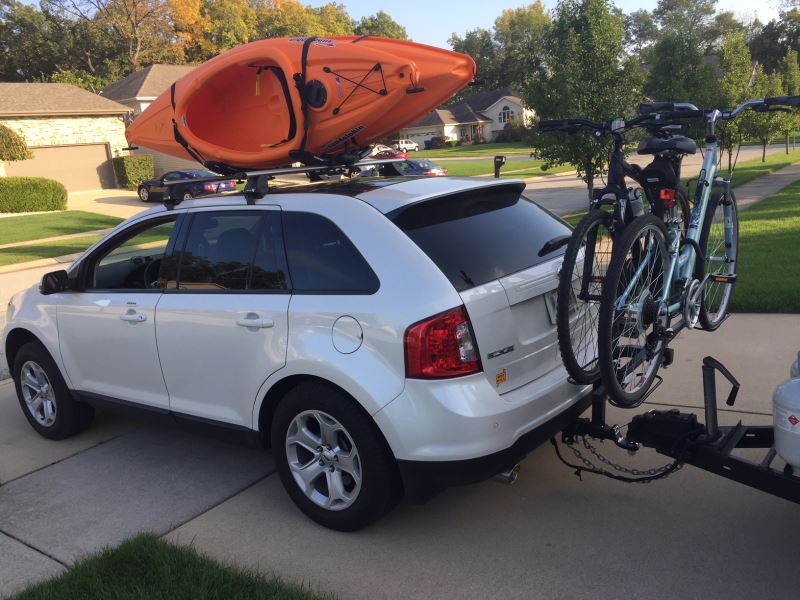
















Rio
6/4/2021
Amazing!!